Objects
Only vector-based drawing programs have objects. Basic objects are curves or text. You can group different basic objects into compound objects. An object (or a group of objects) may be active. Everything you do applies to the active object(s).
First Example
- Click on the rectangle icon
 . The cursor changes into some "cross" cursor
 .
.
- Click somewhere, hold the mouse button while moving the mouse. A rectangle is created. It is still the active object.
- Fill this rectangle by left-clicking in the colors.
- Change the color of the outline by right-clicking in the colors.
- Change the thickness of the outline by clicking on the pen icon
 ,
click on the pen icon in the pop-up menu, and you see a dialog box where
you can change everything about the line.
- Now click on the shape tool icon
 (the cursor changes again).
Click the top left node of the rectangle and drag it to the right
to get a rounded rectangle.
- Now create a second rounded rectangle, either as above, or by activating the rectangle (if necessary) by clicking on it, and pressing "Ctrl-D" (for duplicate). Resize this by pulling at the nine black square "handles". Change fill color and outline color and thickness as above.
- Now click on the text tool icon
 Again you get the cross cursor. Click where your text should start, say
on the left end of your second rounded rectangle. You see a text cursor "|" there.
Type something.
- To resize your typed word, click on the
pick tool icon
 .
Again the handles are visible, and you can resize the word
to fit into your rectangle.
-
The picture you created may look like this. 
Ordering, moving, grouping objects
In the example above, you have three objects.
Each of the can be activated by clicking on it when we are in the "pick-mood"
(![]() is activated). The active object shows the 9 resize handles.
Then you can grab the active object with your mouse and move it somewhere.
Everything you do (like changing text attributes
is activated). The active object shows the 9 resize handles.
Then you can grab the active object with your mouse and move it somewhere.
Everything you do (like changing text attributes ![]() ,
outline attributes
,
outline attributes ![]() , fill attributes
, fill attributes ![]() )
applies to the active object(s). If nothing is active at the moment,
the program asks you whether you want the new settings for all new objects.
This is how you change your defaults.
)
applies to the active object(s). If nothing is active at the moment,
the program asks you whether you want the new settings for all new objects.
This is how you change your defaults.
Objects are also in an order, usually as you created them. More recent objects lie over others. If you want to change this, you should go the "order" menu --- click "Arrange|Order".
Sometimes it is convenient to group objects. For instance, the text and the rectangle in our first example should remain together. Mark the objects you want to group together by clicking them and keeping the "Shift" key pressed (or by drawing a frame around the group). Then click the menu "Arrange|Group".
Curves
Choose the freehand tool (4th icon on the toolbar). Draw a curve by keeping the left mouse button pressed and moving the mouse. Or, if you want to do a polygon (curve with straight lines), use the pattern Click---move---click---click---move---click---click---move---click ....
The shape tool again
If you activate a curve object when the shape tool is on, you see certain small squares on the curve. All curves in Corel Draw are so-called Bezier curves, build from points and handles attached to them. Moving the handles by grabbing the ends of them changes the shape of the curve. You can also move the points of the curve.
Straight line curves don't have handles. You create them by right-clicking on the curve part between two points, and selecting "to Curve" from the Pop-up menu. Using this pop-up menu you can do also a lot of other things: Adding or deleting points on the curve, transforming curves into straight lines, and so on.
Do the first steps in Corel Draw project
More ...
| Envelope | Extrusion | Blends |
 |
 |
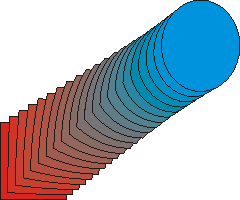 |
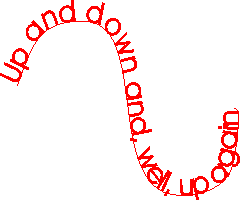
| Text to a path |  |
|
 |
||
 Use the fill tool icon
 ![]() , fountain fill icon,
to fill a rectangle in these different ways, as shown here.
, fountain fill icon,
to fill a rectangle in these different ways, as shown here.
 Extruding text...
Applying text to a curve ...
You certainly can also import clip art (which are just corel draw files other people have created. You can change them---ungroup and ...)
|
night Late night fog sunrise cloudy afternoon fall evening | 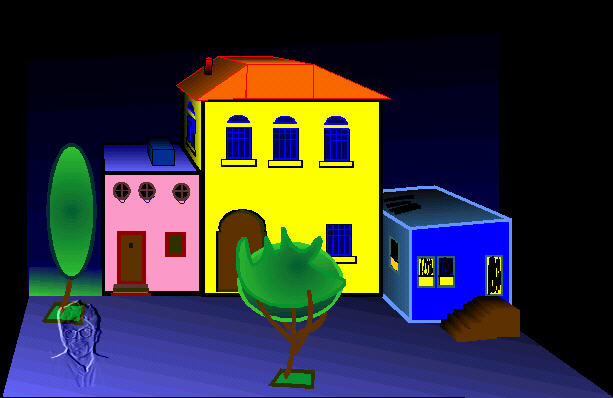 |
Exporting
If you want to inculde your corel draw picture into a webpage, you have to transform it into JPG (Joint Photographic Experts Group) or GIF (graphic interchange) format. You do this by choosing "export" in the file menu in Corel Draw. Which one should you choose? For photos with a lot of color, JPG is usually better, but for (geometrical) shapes with few colors you should use GIF. See some examples of exported Corel Draw pictures.
